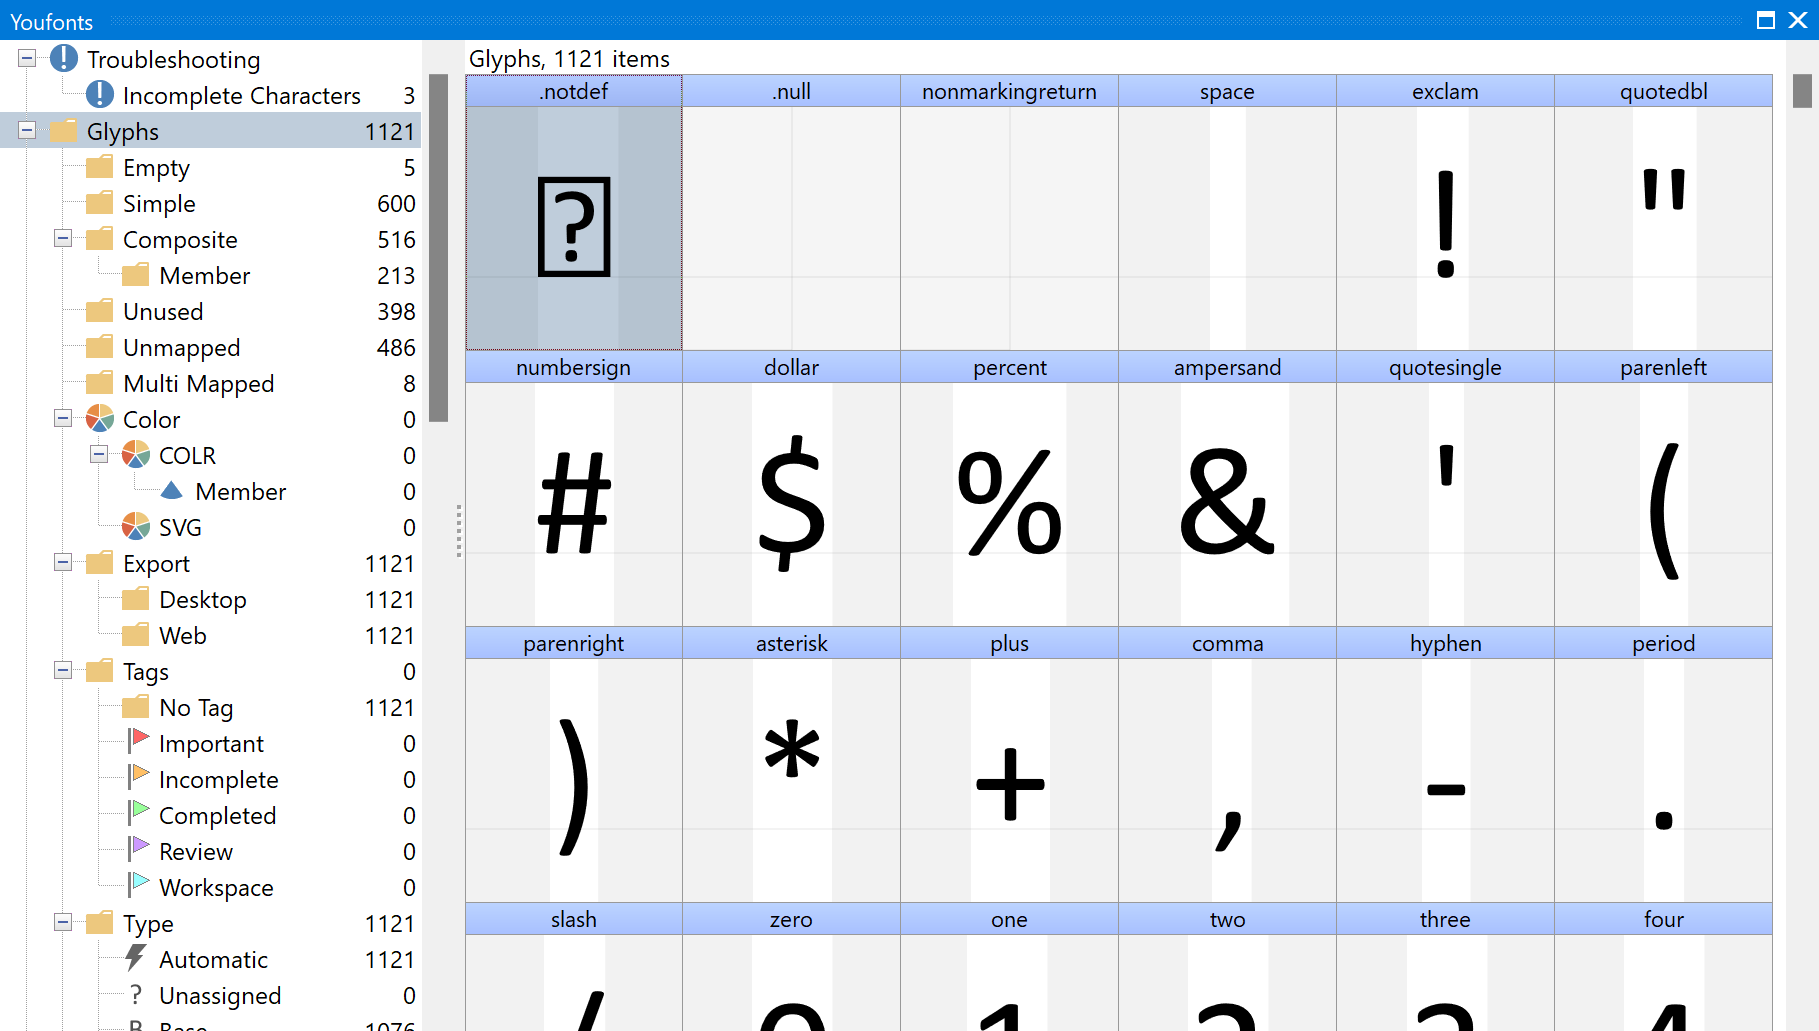
In the Font panel there is a list of categories and a grid where all cells have a caption and a part that shows the glyph. A cell that contains an empty character will show a sample character with light grey outlines. Sample characters don’t really exist in the font, but help you identify what characters are missing.
The categories panel is a convenient way to quickly show a subset of characters or glyphs and allows you to display them in several groupings and orderings. To change the current grouping and ordering use the Overview Toolbar on the main toolbar.
The Glyphs category contains several subcategories. One of them is the Unused category, which is only shown when the font contains one or more glyphs that are inaccessible by normal means. It is recommended to exclude such glyphs from your fonts as they are of no use. This setting is located on the Options -> Font tab.
The Scripts category reveals all scripts that the font covers. Numerous characters are used among several scripts (digits, punctuation, etc), hence they are excluded.
Each cell has a caption that is used to display the glyph name, Unicode name, the code-points or the glyph index. To select the kind of caption, use the Overview Toolbar or right-click in the Font panel and select a specific caption. Setting the caption type to Automatic will automatically change the captions to the value of the current selected grouping method. This means that when you group by Advance Width, the cell captions display the Advance Width value.
You can also switch between decimal and hexadecimal values for the code-points. This setting is located on the Options ->View tab.