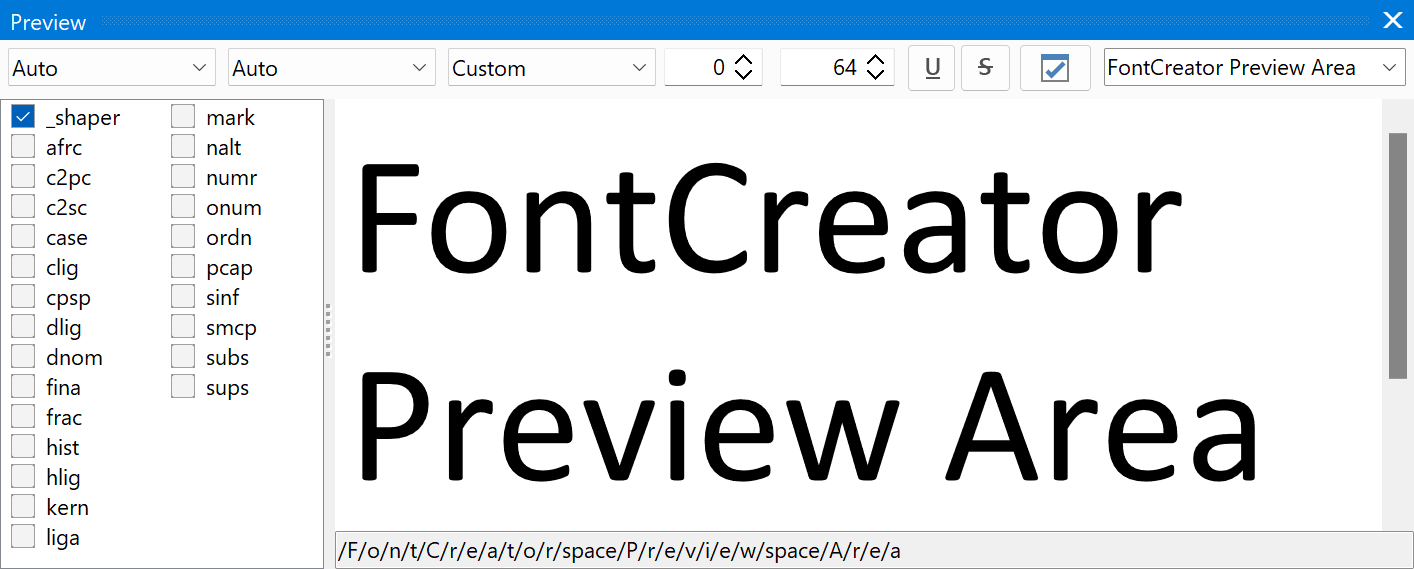
While editing a font, you can preview the results with the Preview panel. You can choose a standard text sample from the drop-down list or enter your own text. It can be toggled on and off using the F8 shortcut key and is available in both the Font panel and the Glyph panel.
You can also use special formatting as explained in Preview in FontCreator.
Selected glyphs in the font panel can be displayed in the Preview panel by pressing the P shortcut key. You can also use Shift P to add the selected glyphs to the current text.

The drop down lists available at the upper left and the first edit control after these lists are all related to OpenType layout features as defined in the OpenType Designer dialog. To test language specific features, select the corresponding script in the first drop down list, and then select the language in the second drop down list.
The edit control can be used to select which alternates to show.
To test your kerning, select the kern feature in the list of features. You can select multiple features so that you can see how they work together.
The Preview panel can be resized to show more text.
If you wish to edit a glyph’s outline or adjust its metrics, click the specific glyph in the preview area to jump to it in the Font or Glyph panel.
Note: If the Glyph Display Mode (available from the View menu) is set to Auto or Color, then the foreground and background color come from the Palette panel.